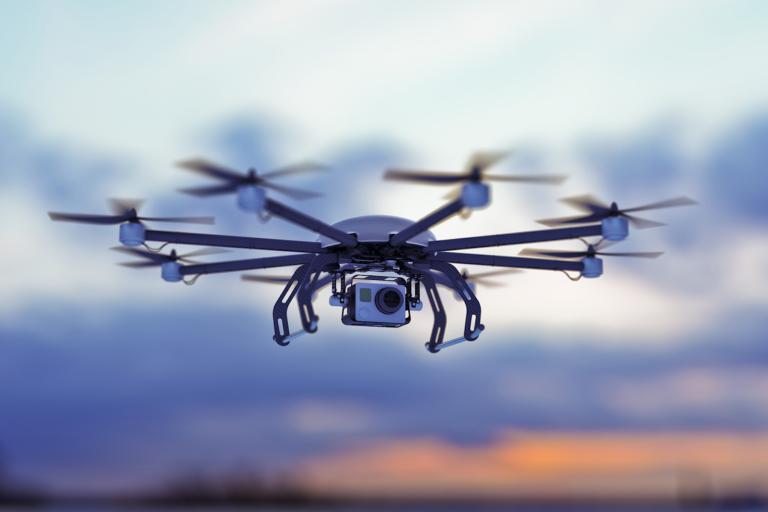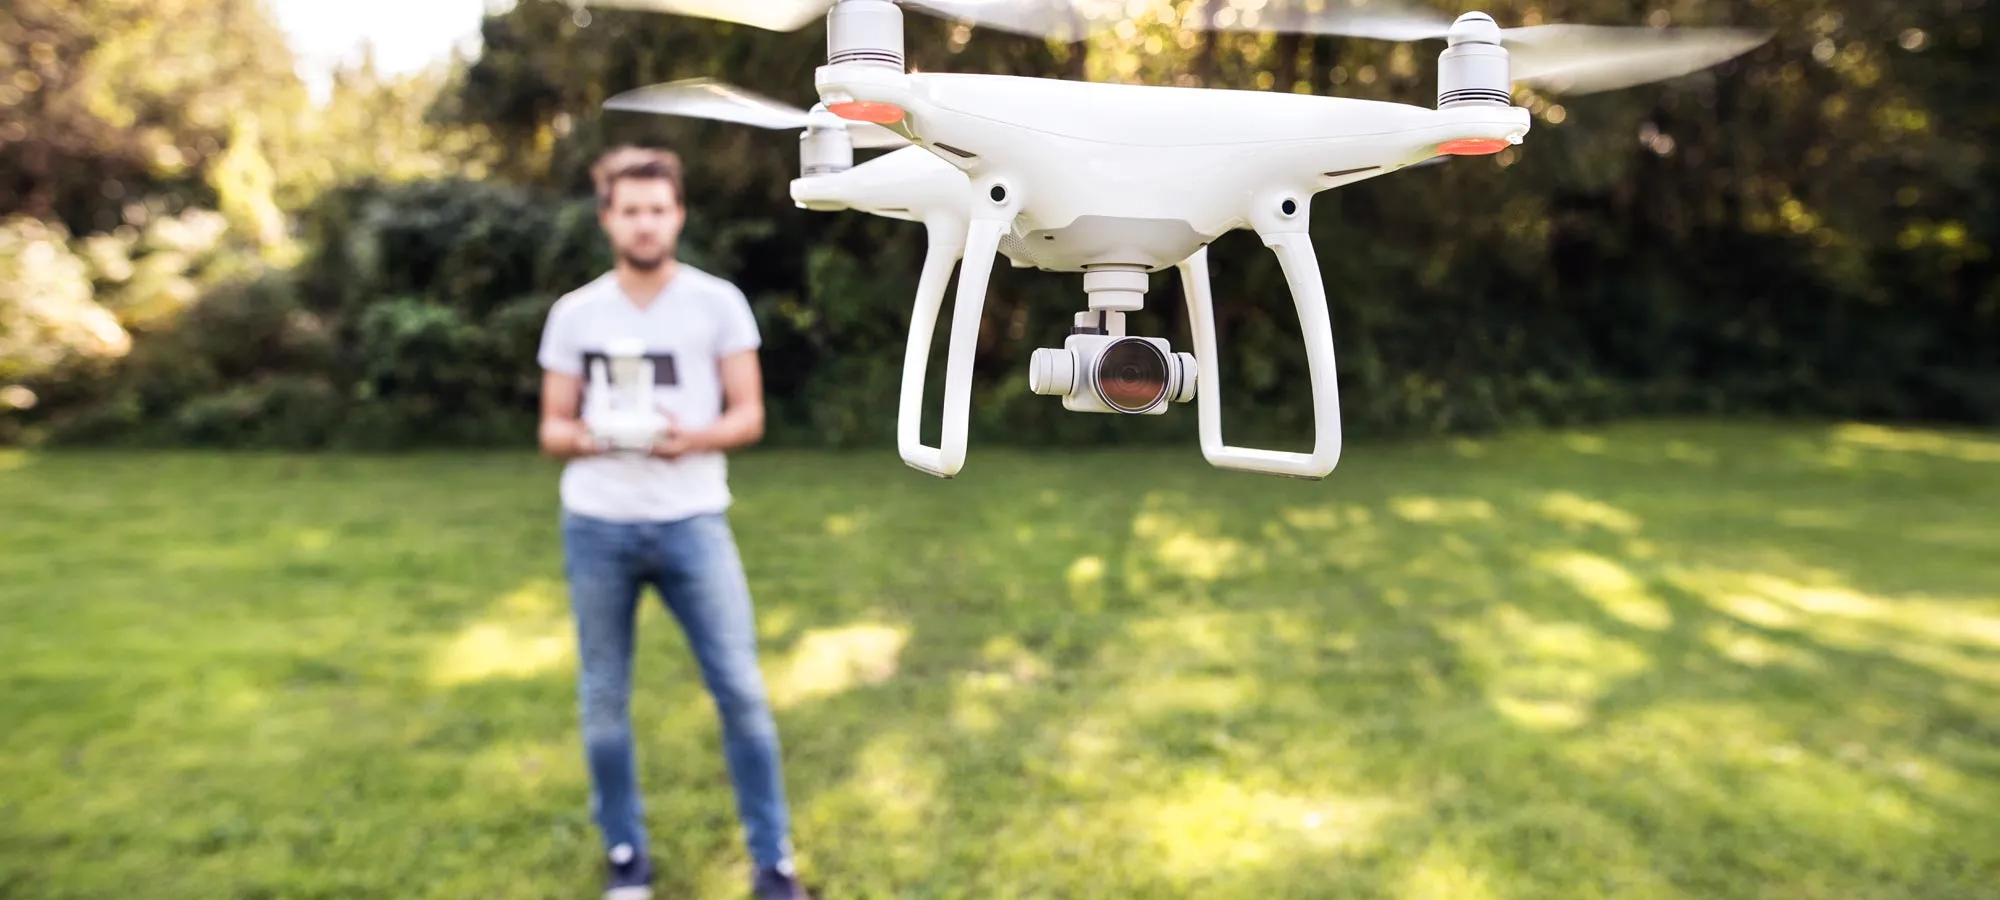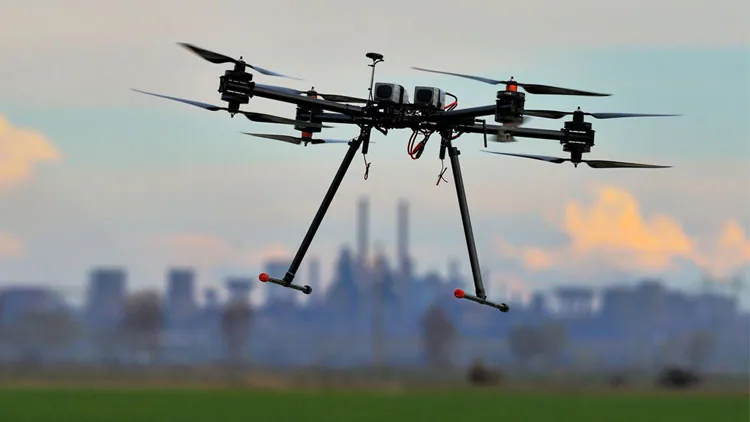
Drone photography and videography have gained immense popularity in recent years, allowing enthusiasts and professionals alike to capture breathtaking aerial shots.
One crucial aspect of achieving stunning visuals with a drone camera is understanding and mastering aperture settings.
In this article, we will delve into the world of drone camera apertures, explaining what they are, how they work, and how you can use them to elevate your aerial photography and videography.
What is Aperture?
Aperture, in the context of photography, refers to the opening in a camera’s lens through which light enters.
It’s measured in f-stops, represented by numbers like f/2.8, f/4, f/8, etc. These f-stop values determine the size of the aperture, and they play a significant role in controlling the amount of light that reaches the camera’s sensor.
Understanding Aperture Settings
Aperture Size:
-
- Large Aperture (e.g., f/2.8): A large aperture lets in more light and results in a shallow depth of field. This is ideal for capturing subjects with a blurred background, creating a sense of depth and isolating the subject from its surroundings.
- Small Aperture (e.g., f/8): A small aperture allows less light in but provides a deeper depth of field. This is useful when you want everything in your frame to be in sharp focus, such as landscapes.
Exposure Control:
-
- Shutter Speed and ISO: Aperture settings work in tandem with shutter speed and ISO to control exposure. If you open the aperture wide (e.g., f/2.8), you’ll need to use faster shutter speeds and lower ISO settings to avoid overexposure. Conversely, a smaller aperture (e.g., f/8) may require slower shutter speeds and higher ISO settings in low-light conditions.
Creative Effects:
-
- Bokeh: The blurred background effect achieved with a wide aperture can add artistic flair to your drone shots. It’s perfect for portrait photography or creating cinematic videos.
- Starburst Effect: Narrow apertures (e.g., f/16 or smaller) can create a starburst effect when capturing point light sources like streetlights or the sun.
Using Aperture Settings for Drone Photography
- Landscape Photography: When capturing expansive landscapes, use a smaller aperture (e.g., f/8 to f/16) to ensure everything from the foreground to the distant horizon remains in sharp focus.
- Portrait Photography: For aerial portraits, go for a larger aperture (e.g., f/2.8) to isolate your subject from the background and achieve a pleasing bokeh effect.
- Video Recording: When shooting videos with your drone, maintain a consistent aperture setting to avoid exposure changes during the recording. Adjust shutter speed and ISO to control exposure.
- Low-Light Conditions: In low-light situations, opt for a larger aperture to let in more light. However, be cautious of potential loss of depth of field, and use higher ISO settings if needed.
Conclusion
Mastering aperture settings is essential for drone photographers and videographers aiming to capture stunning aerial imagery.
Understanding how aperture size affects exposure, depth of field, and creative effects empowers you to make informed decisions when setting up your drone camera.
Whether you’re shooting landscapes, portraits, or cinematic videos, harnessing the power of aperture settings will help you elevate the quality of your aerial content and create visually captivating masterpieces from the sky.
